Hello everyone, hope you’ve had a lovely week. Ours has had the usual highs and lows, but no major drama and for that I’m always grateful. Amelie has been taking her SATs exams at school this week. I’m lucky that she takes tests like these in her stride, but I feel very sorry for kids, and the parents of kids, who get nervous of, what seems to me, completely irrelevant and pointless tests. I try not to think about it or I end up on my high horse again about the state of education and creativity in primary school. She came home with a letter from school reassuring the child that the tests didn’t measure:
“that some of you can speak two languages or that you love sport and play each week for your local team. They have not seen your natural talent for dancing or playing a musical instrument. They do not know that you can solve any puzzle that is put in front of you or that you draw the most amazing pictures. They cannot see your enthusiasm for reading and they do not see the kind and caring person that you have grown to be”.
Of course those are all the important things when you’re eleven and to be honest, when you’re an adult too. But because those things can’t be easily measured and graded and have you placed on a scale of attainment, they are eschewed in favour of whether you can spell the word ‘nutritious’, and do some maths. It makes me sad that in the drive for the children to achieve good marks that reflect well on the school, that creative subjects, science and PE, are squeezed into a less important place at school. I know that many of your reading this will feel this too and will have experienced the very same during your own education. We are at least fortunate that learning can be life long and that it is never too late to learn a new craft or pursue a love of art. We are delighted that you might be here because you have rediscovered that passion for arts and craft later in life. I consider myself one of those eternal students, there is always more to learn.
Hmm, seems I did get back on that horse after all!
Meanwhile, the decision was made to clip the wings of our white adopted chickens. They think they can roam wild and free, digging up my garden to make their dust baths and perching on the patio furniture. I will point out that they have a lovely large run with plenty of space for dust bathing and scratching, but no, it’s not as appealing as the flower beds. Clipping the wings just involves painlessly trimming the flight feathers on one side. So last night as they were going to bed I tackled the job. This morning? I was greeting by this sight - all four of them sprinting to me across the lawn having still managed to clear the fence around their pen!
And so it seems they are destined to be forever wild and free. Just don’t ask me how my delicate plants are doing this year. I don’t have any.
Amidst all this real life there has been art happening too. When the students were here last I made some monoprints on fabric to show them the process. My intention was always to add some quilting to mine and I thought you might find seeing the process helpful…
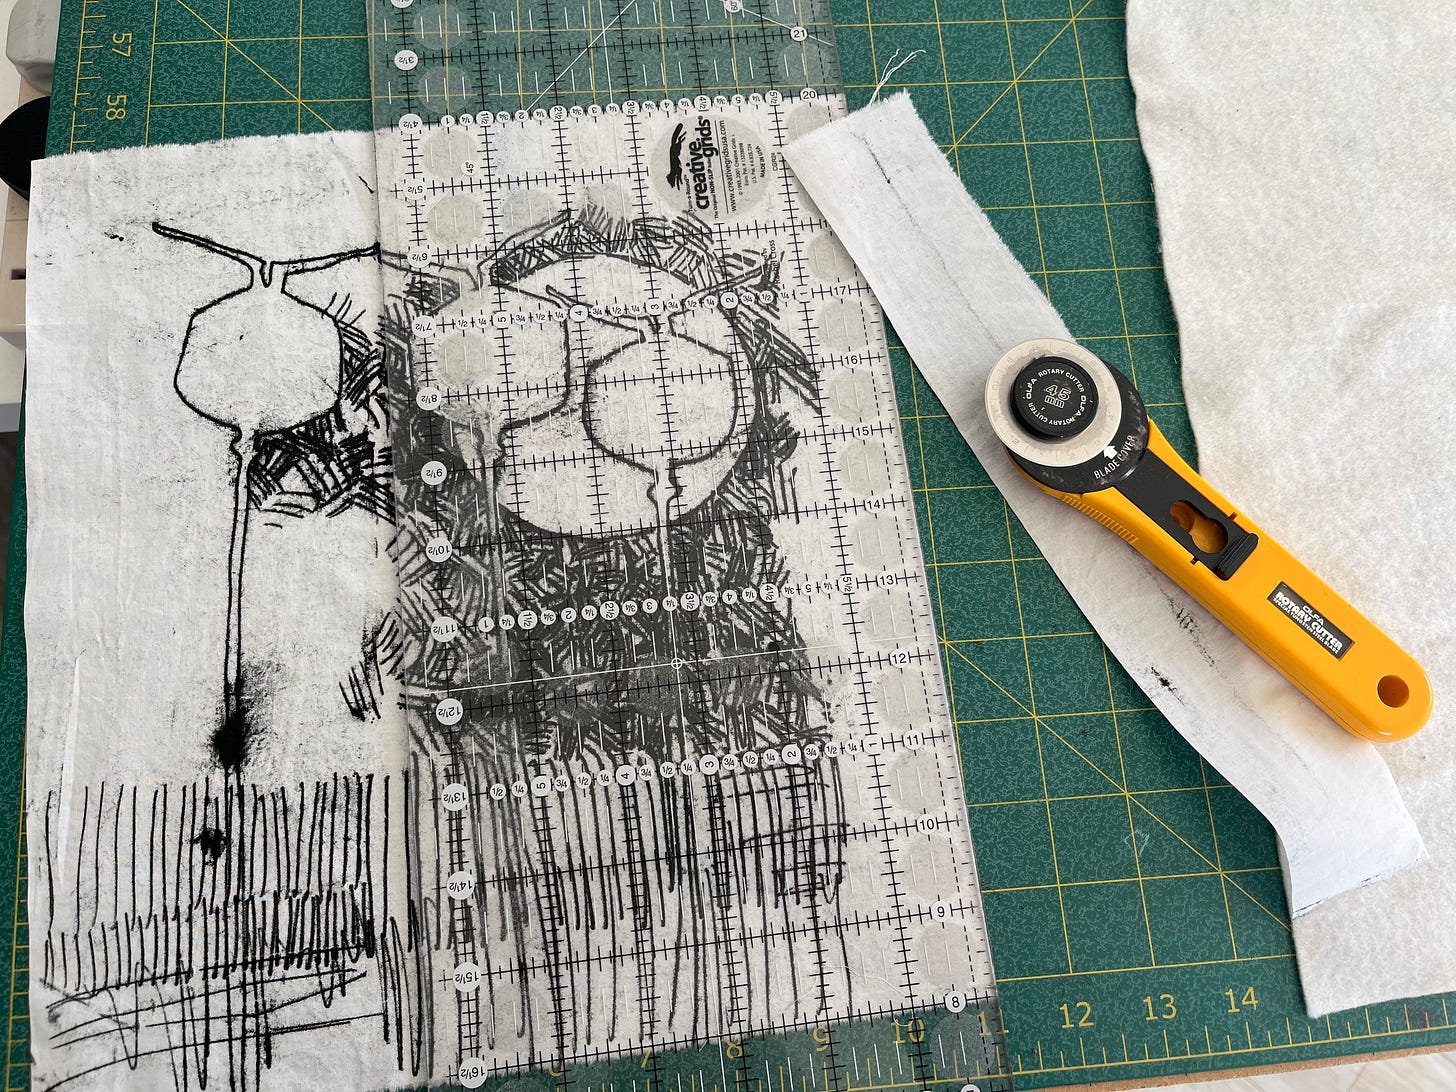
Here’s the print. First job is to trim off any bits that aren’t required. I’d grabbed this bit of fabric at random and it still had a selvedge on one side, plus I wanted to lose some excess on the right hand side too.
Next step as I plan to quilt this is to layer up with wadding and a backing. I’m trying to limit the amount of synthetic fibres that I use in my work so I switched from an 80/20 cotton poly wadding to a 50/50 bamboo cotton wadding a while ago.
I cut a piece that’s about half an inch bigger all around.
Next some backing…
I’m using some black cotton which I happened to have to hand. I use whatever I’ve got for the backs of pieces, so long as it’s not too thick or thin. Again I cut it just a bit bigger on all sides. Having this extra margin of wadding and backing fabric is very useful when you are quilting as it gives you something to hold when you are working right at the edge of the piece.
Now in the perfect world these layers would be tacked together with some basting stitches, and I always would do this for a larger piece of work. Tacking is done to stop the layers shifting and wrinkling as you stitch. No-one wants that dreaded pleat on the back! But, this is a very small piece of work and the bamboo wadding is very grippy with the cotton fabrics top and bottom. So I’m skipping the basting.
Now comes the tricky part - how to quilt this! I’m going to use my machine and freehand quilt it, maybe considering an option for some additional hand stitch details, but the machine quilting will do the main work.
I give a lot of thought to quilting something before I start. I think back to pieces of work I’ve done before and consider what worked well and what didn’t. I look back through my sketchbooks for ideas on line work and how I’ve used drawing and mark making to fill spaces. Then I usually make a start on the area of the quilt that I feel most confident that I know what I’m doing.
In this piece it was the circle that suggests a moon shape. I wanted to add colour there so I threaded up with a turquoise thread top and bottom. I knew also that I wanted to flatten that area to push it back. Remember, with quilting, areas that are stitched more closely are flatter and can recede into the background compared to areas that are left with less quilting. These unquilted areas are more raised so they physically pop forward, but also visually too. This is a landscape so I wanted the poppies to definitely look like they are in front of the moon. That answers the question for me - closer quilting in the moon area to flatten it and push it back. Barely any quilting (actually probably none) on the poppy seed heads so that they pop forward in relief.
Here’s a clip of me quilting. You can see that the design is incredibly simple, I’m just stitching parallel rows vertically to fill the space. The key is keeping the scale correct with the space. If the lines were too far apart they wouldn’t do the job of flattening the area, plus without lots of closely spaced lines you don’t get the added impact of the colour from the thread.
Here are my tips:
Bring up the bobbin thread to the top of the work and hold both top and bobbin thread while you take the first few stitches. This anchors the threads and avoids a messy nest on the back of the work.
Take a few stitches very close to each other, then stitch away, stop and clip the thread ends so there’s no danger of sewing over them.
Some people bring thread ends to the top, start quilting and then later, thread the ends up with a needle, take them to the back and sew them in by hand. Yes, this is very neat, but it is also time-consuming and in my opinion life is too short.
Don’t worry about every stitch and every line of stitches. Look closely at mine: they are not all exactly the same length, nor are the lines all perfectly spaced. Some are a bit wobbly. This is OK! The overall effect will still be good.
If you do find your stitches look a bit long or jerky, chances are that you are peddling too slowly. Increase your foot speed and you’ll get a smoother line.
Plan your route to avoid unnecessary starts and stops and therefore thread ends to deal with.
When you get to the end of the section you’re quilting, take a few stitches very close or actually on top of each other, then I use the ‘scissor’ function on my machine which automatically cuts the threads. (You’ll hear the clunk in the video!). If your machine doesn’t have this function, snip the threads top and bottom with scissors instead.
My final tip and one of the most important is to choose a thread that’s brighter than you think it should be! I stitched this with a bright turquoise thread, but look how gentle it still is. Thread on the spool looks bold, a thin stitched line, even lots of closely spaced lines is always more low key.
I’m using Sensa Green threads by Madeira almost exclusively at the moment. These are made from wood pulp and are much more sustainable than other types of thread. They look and handle just like cotton and I do recommend them.
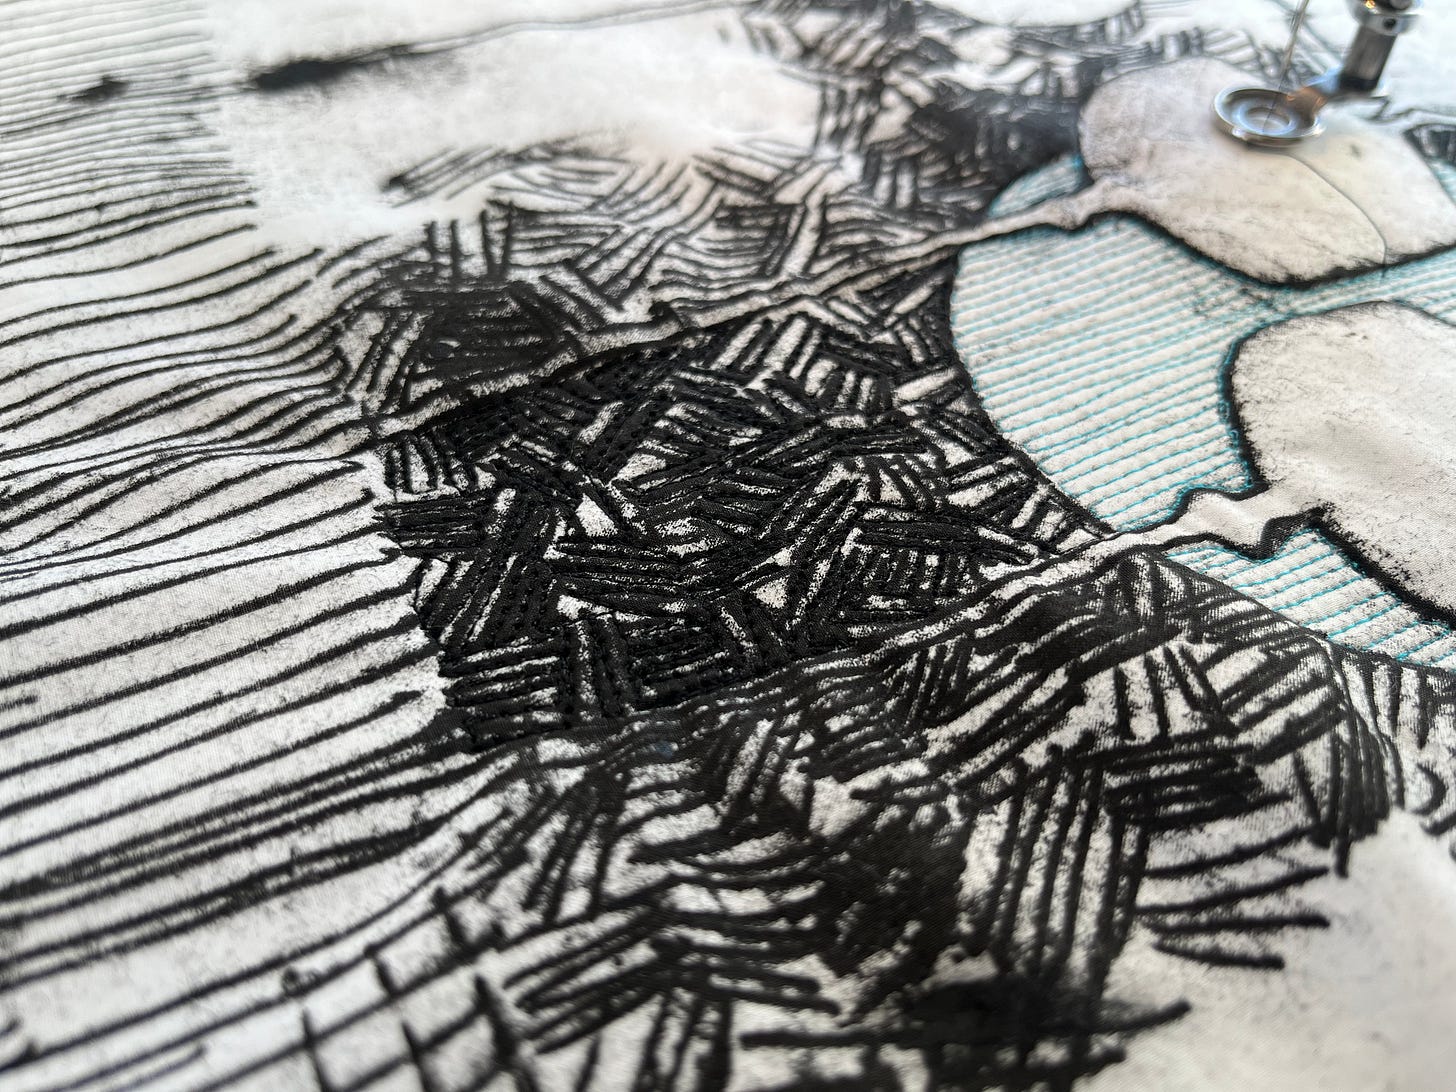
So that’s the moon section dealt with, you can see I’ve just got a little thread tail there to trim. Next I need to think about how to quilt the black and white marks around it. Now part of the reason I love the monoprint method is because of the beautiful quality of line that you get. When I did the blue stitching, I was as careful as I could be not to stitch over the black lines with blue thread. This would have interfered with how nice that line was and detracted from it. Now in the area with the crosshatching, I need to quilt to control the fabric and here the best option is to go with the lines.
Back in the dim and distant, Linda and I wrote an article for Quilting Arts Magazine called Let the Fabric Decide. The principle was that sometimes when you’re quilting a hand dye for example you can follow the lines in the dyed fabric and let that guide the quilting. I’m going to use the same idea here.
I’m following the marks on the fabric, changing direction as they do. I’ve matched my thread so I’m working black on black. Sorry, I know that makes it hard for you to see what I’m doing, but I want the stitching to disappear into the print marks. The stitching needs to reinforce the marks not interrupt them, so keeping the direction and the colour the same helps with that.
And here’s how that area is looking so far…
The quilting in the cross hatched area has visually melted into the print marks. It’s functional in that it’s controlling the fullness of the fabric, but it’s not complicating things by adding extra colour or marks.
I’ll continue with this and will show you next time how I handled the other areas and how I’ll finish a mini quilt like this one.
In the meantime, if you’d like more ideas and information about quilting your monoprints please refer to our courses related to that topic:
Work with me to explore monoprinting methods using paper stencils to print on fabric and paper. I’ll show you how to make a series of sequenced prints. Next work on a landscape design on fabric with a central scene and border design. This course is £6.
Screenprint, Monoprint and Stitch
Learn how to create one-of-a-kind printed fabrics using a fabulous screen printing method with stencils, then overprint with monoprinting to add graphic marks. I’ll then guide you through planning piecing ideas in your sketchbook. This course is £8.
As with all our courses, when you sign up you have access to the lessons for as long as you want so you can work at your own pace. We’re always on hand to answer questions too, so even though it’s an online course, you’re not on your own.
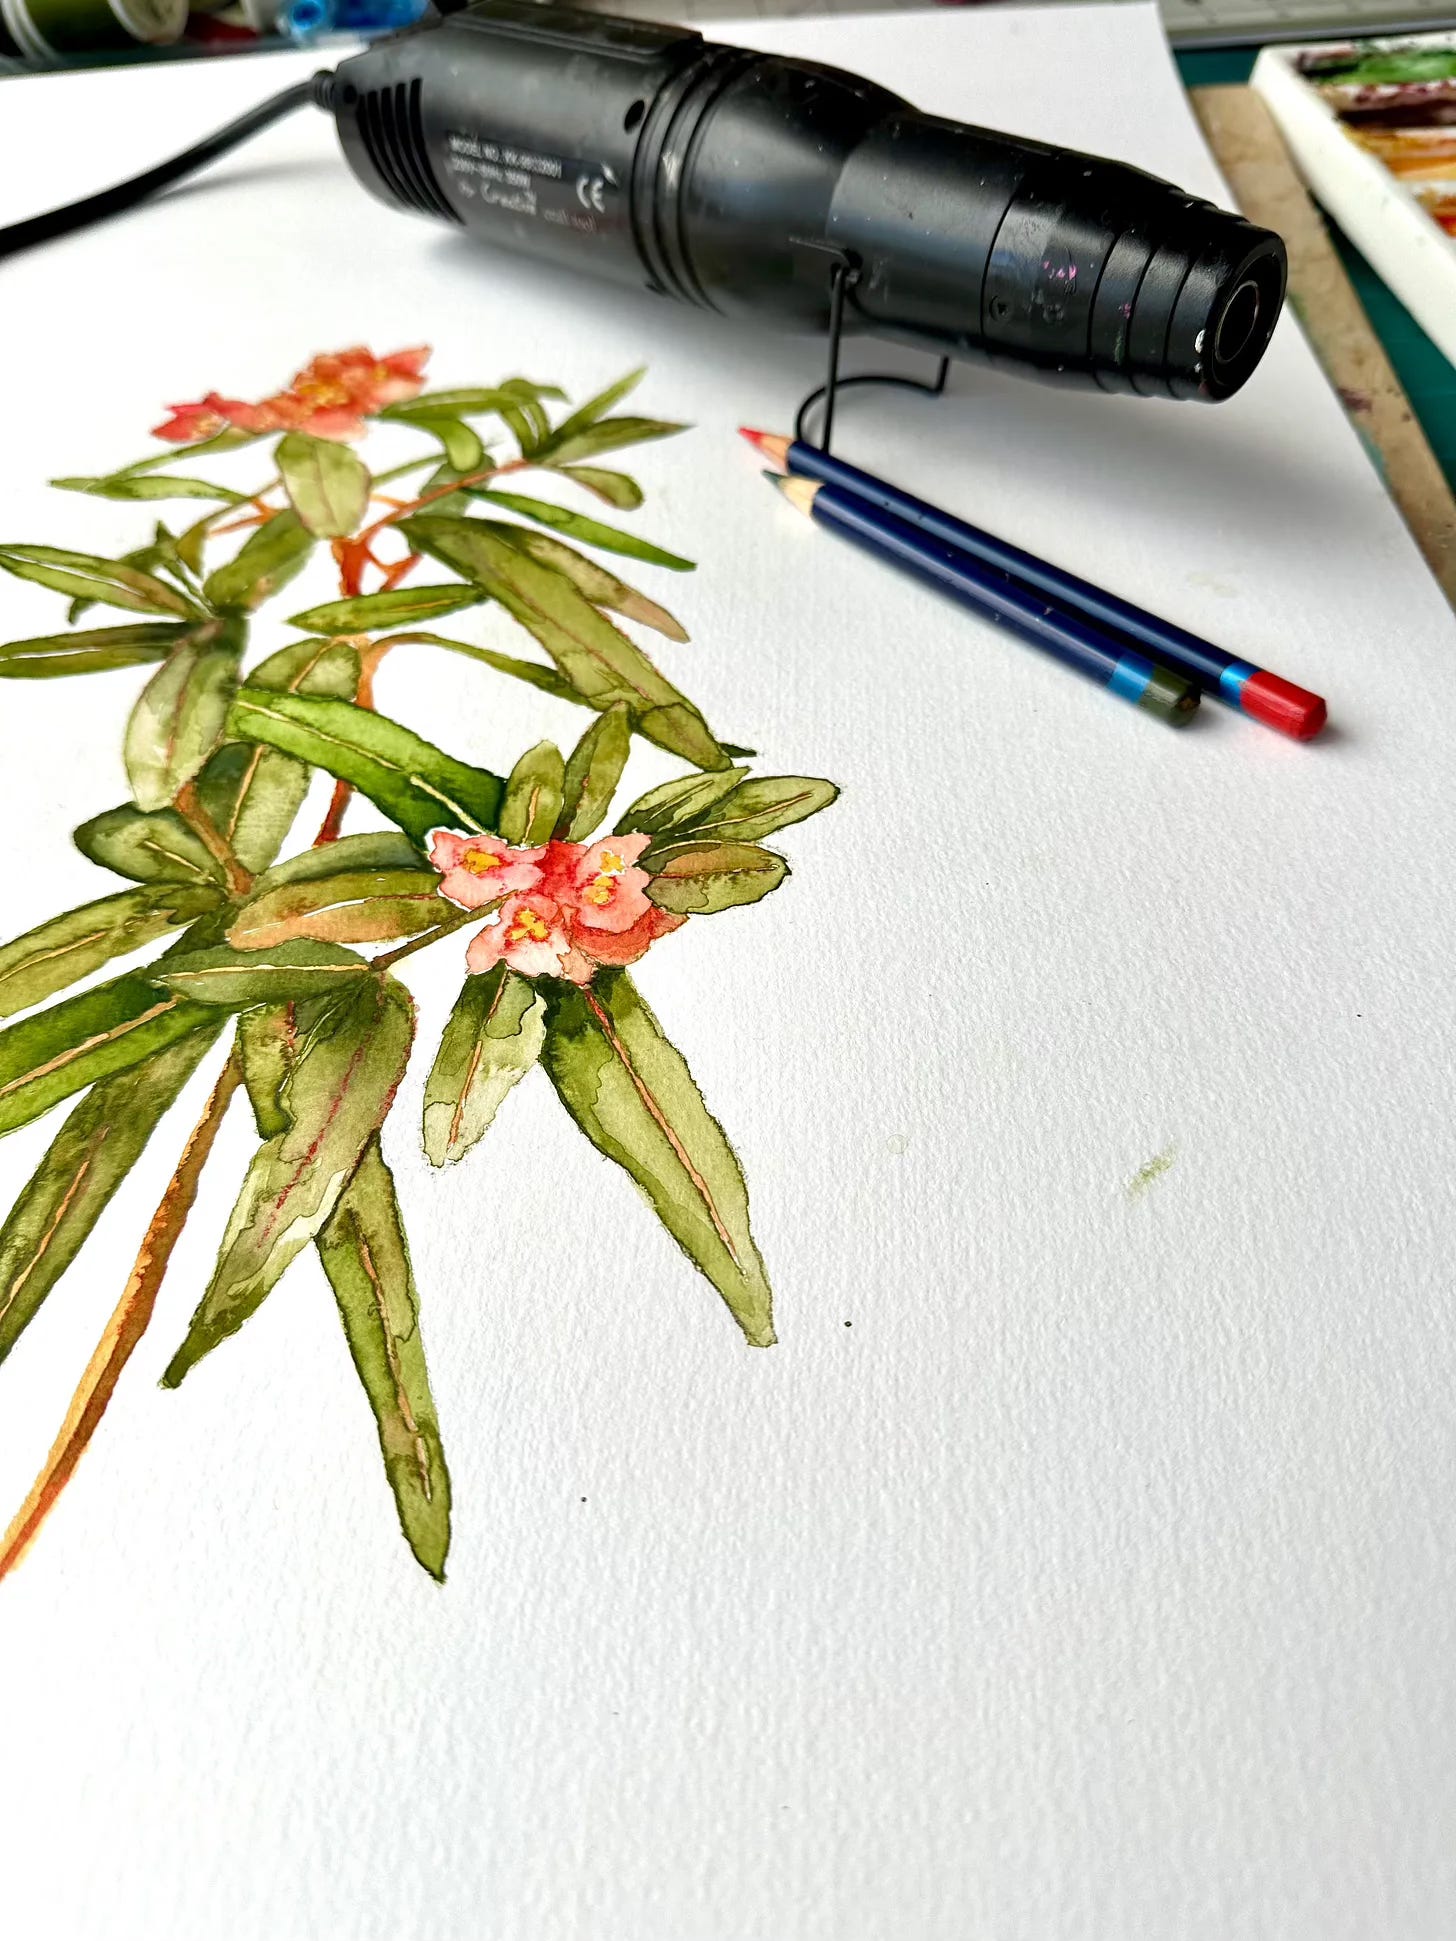
Finally, just a recap on what else we’ve written about here on Substack this week. Linda’s been sharing her tips and ideas for using watercolour pencils to help with rendering fine details in watercolour paintings in her article Watercolour Paint and Pencil which you’ll find here.
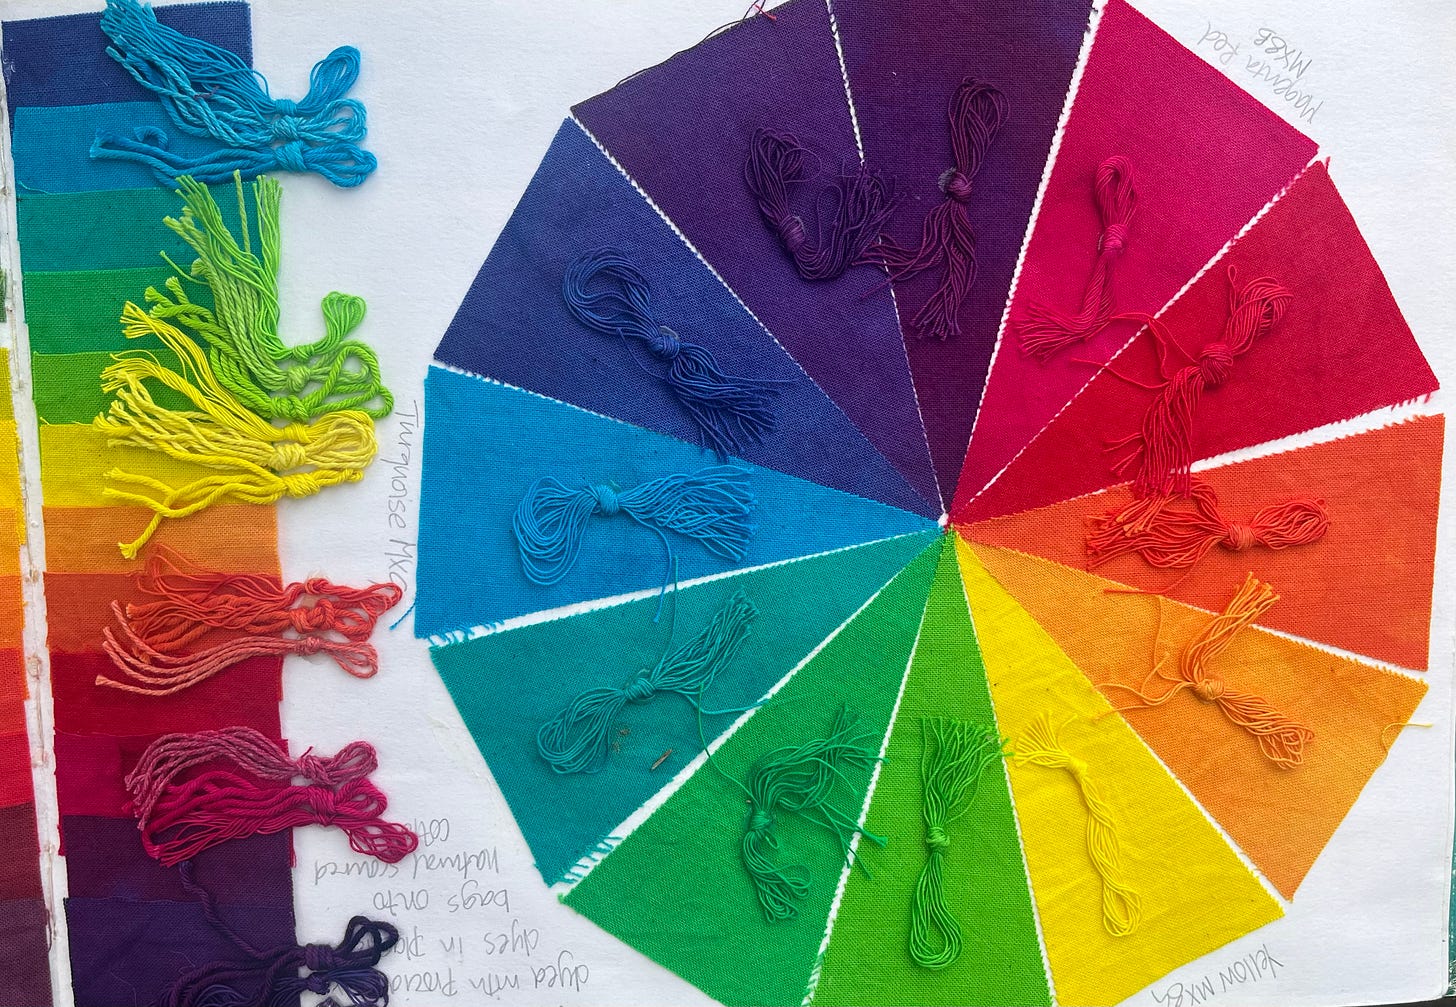
Meanwhile I wrote about how to choose your palette of Procion dye colours for successful colour mixing in my post, Choosing Dye Colours which is part of the Dye Like an Artist series. You can find that here.
And last but not least, Linda examines how important backgrounds and negative space are when printing with block printing with compressed sponge. Her post is called Backgrounds and Negative Space and you’ll find it here.
Don't you just love the bubbly texture of the print when it’s done with compressed sponge? If you’ve not come across this before, do have a look at our free video What is Compressed Sponge.
And also this class - Surface Decoration, Sponge Printing where she shows you how to print with sponge on paper and fabric.
Thank you for taking time to read our newsletter this week. I hope you found the tips on machine quilting helpful and enjoyed browsing through the links to classes. If you have any questions please do pop them in the comments below. And of course if you’d just like to say hi please do that too - we really like to know that you’re here!
Until next time,
Laura and Linda x


I just discovered I can listen to YOU read the newsletter and it was delightful. Thank you so much for the option to listen as well as read. Sometimes I learn better with both. Thank you for all the classes and the tips and hints. They are always helpful. Best wishes for a wonderful week!
Thanks Laura, especially for your comments on the education system in the UK squeezing out creativity. Please rant as much as you can. From my perspective, developing all those skills that are not measured is the only way that future generations will maintain the ability to think for themselves. Now off my soapbox and get on with stitching…